| Using UVMapper Pro with a 2D paint program | |
|
|
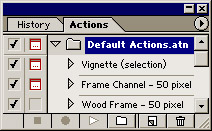
The purpose of this tutorial is to explain how to use UVMapper Professional in conjunction with a 2D paint program such as Photoshop, Paint Shop Pro, or Painter. I'll be using Photoshop for demonstration purposes. Start Photoshop and select New from the File menu. Because you'll need an image to record the macros later, just use the defaults and click OK. Select the Actions palette (red arrow to the left.) |
|
|
To create a new action, click on the small page with it's corner turned up, next to the trash can. |
|
|
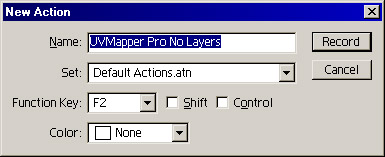
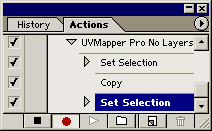
Enter "UVMapper Pro No Layers" for the name, and select F2 as the function key. Any key will work so if you'd prefer another, select it here. Click on the Record button. Choose "All" from the Select menu, "Copy" from the Edit menu and "Deselect" from the Select menu (you could also just press ctrl+a, ctrl+c, ctrl+d.) |
|
|
Click on the black square next to the red circle to stop recording. That's it for this macro. |
|
|
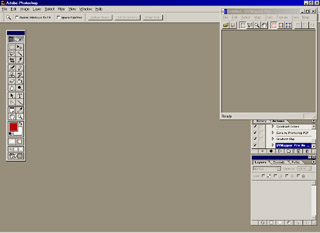
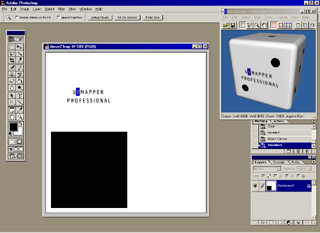
Next, start UVMapper Pro. Adjust the window so that when it overlays Photoshop it won't be in the way. Select "Always on Top" from the View menu, and "Auto Update" from the Texture menu. When you click on the Photoshop window, you're screen should look something like this. |
|
|
Load a 3D model into UVMapper Pro and select "Show Model" from the View menu.
Load a texture map into Photoshop and press F2. The texture map will be copied to UVMapper Pro and displayed on the model
in the preview.
Repeat the steps above to create a second macro titled "UVMapper Pro Layers". Assign it to F3 (or something else memorable.) The only difference from the first macro is that instead of using "Copy" from the Edit menu, you should use "Copy Merged" this time. This way, you can copy an image with layers to UVMapper without having to flatten the image first. Enjoy! |